

Create an Aiven for Apache Flink® application#
Aiven for Flink applications in Aiven for Apache Flink® servers as a container that includes everything connected to a Flink job, including source and sink connections and data processing logic. The Aiven Console provides a guided wizard to help you build and deploy applications, simplifying the process of selecting the source and sink tables, writing data transformation statements, and validating and ingesting data through the interactive query feature.
This article provides the information required to build and deploy applications on Aiven for Apache Flink service.
Note
You must set up the data service integration before building applications.
Create an application via the Aiven console#
Follow these steps to build your first Aiven for Flink application:
In the Aiven Console, open the Aiven for Apache Flink service for which you want to create an application.
Go to the Applications tab and click Create application to create your first application.
In the Create new application screen, enter the name of your application and configure the necessary deployment settings. Click Create application.
Click Create first version to create the first version of the application.
Click Add your first source table to add a source table.
Note
Since this is your first application, there are currently no other applications where you can import source tables.
In the Add new source table screen,
Select the Integrated service from the drop-down list.
In the Table SQL section, enter the statement that will be used to create the table.
Optionally, click Run to view how data is being pulled from the data source. This could take some time based on the data and the connection.
Click Add table.
Click Next to add the sink table, and then click Add your first sink table.
Note
Since this is your first application, there are currently no other applications where you can import sink tables.
In the Add new sink table screen,
Select the Integrated service from the drop-down list.
In the Table SQL section, enter the statement that will be used to create the table.
Click Add table.
Click Next to enter the SQL statement that transforms the data from the source stream. Optionally, click Run to view how data is being pulled from the data source.
Click Save and deploy later to save the application. You will see the application on the landing page that provides you with an overview of your application.
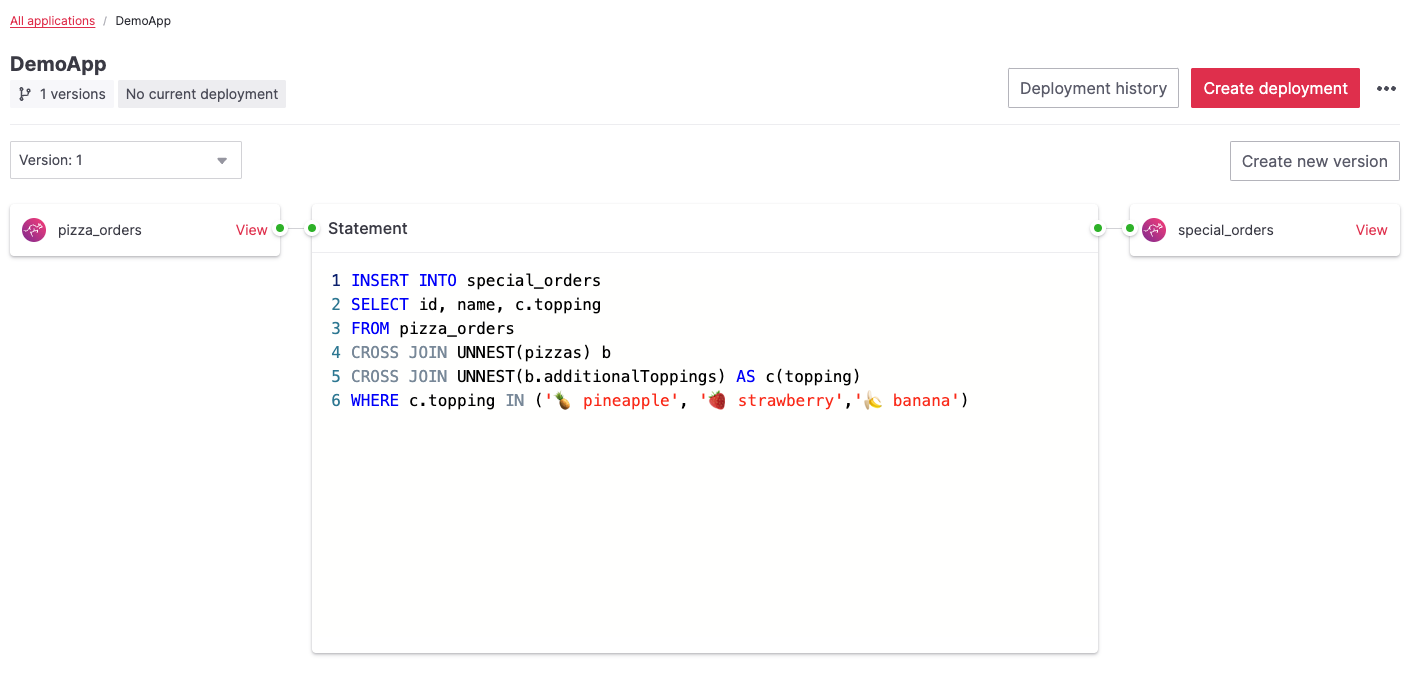
Click Create deployment. On the Create new deployment screen,
Choose the version you wish to deploy. The default version for the first deployment is Version: 1.
Choose the savepoint from where you want to deploy. No savepoints are available for the first application deployment.
Use the toggle for Restart on failure to enable or disable the option of automatically restarting a Flink job in case it fails.
Enter the number of parallel instances you want to have for the task.
Click Deploy without a savepoint to deploy your application.
The deployment status will show Initializing: version 1 and then Running: version 1.
Your first application is now created and deployed, and you can view the data related to the actions the application needs to perform in your sink source.